If you plan on using Tokeet to send email to your guests who booked via Booking.com instead of the Booking.com extranet, then you must add a new contact in your Booking.com account using your Tokeet email.
This is because Booking.com will periodically forward messages received from guests to the contact email address which is on file instead of your Tokeet email address.
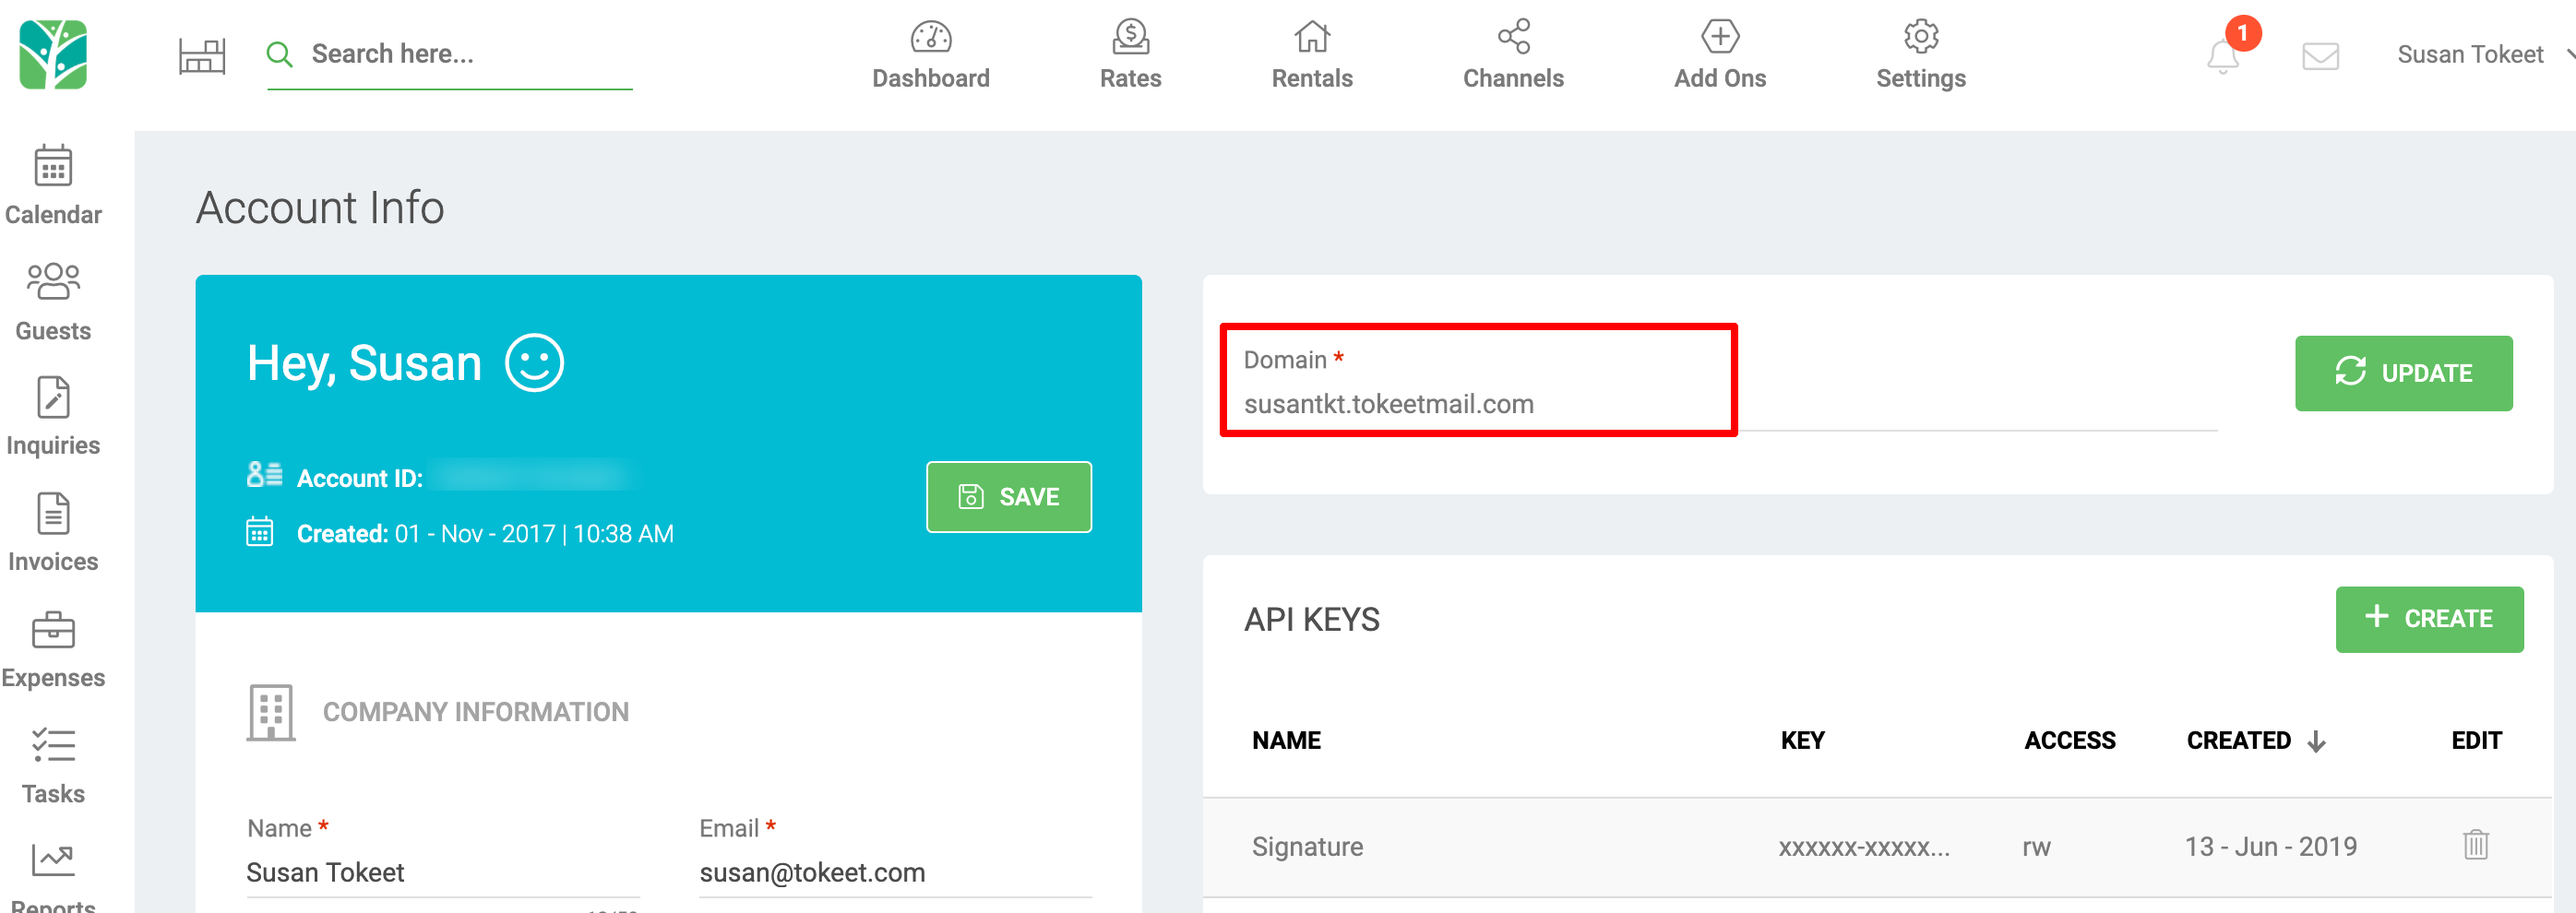
First, you must locate the Tokeet email address. Your Tokeet email address is located on the account info page on your Tokeet account. Log into Tokeet using your Tokeet email address and password. Now click on your name on the top right of your page and click Account Info.

Copy your domain.

Add reservations@ in front of the domain before adding it into Booking.com. So, in this case, the new email would be reservations@susantkt.tokeetmail.com
The next step is to update your Booking.com settings with this new contact information. Log into your Booking.com extranet using the appropriate username and password and select the desired property, if you have multiple properties.
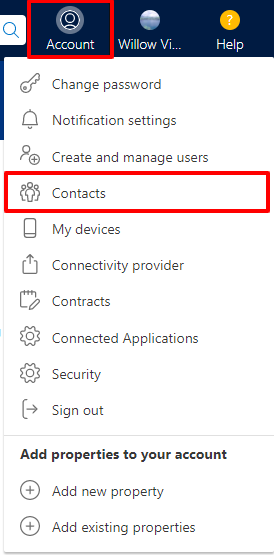
Now click on the Account tab then the Contacts link in menu.

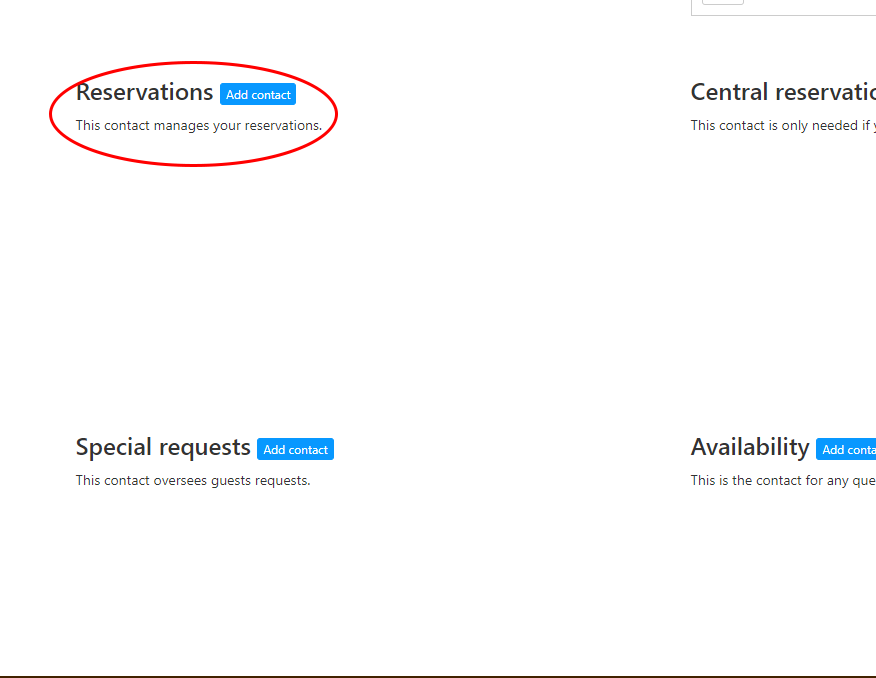
There are various points of contact that you can specify in Booking.com. You will need to add a new contact for the Reservations contact using your reservations email address derived from Step 3 above.

Once you have made this update all emails sent by your guests should now come to you Tokeet inbox and automatically associated to the correct booking.
Troubleshooting message delivery
After following the steps above emails sent from booking.com should arrive in the appropriate Tokeet rental inbox and your replies should be received by the guest. However, should the guest choose to initiate the booking process using their personal email and the Tokeet booking does not show a booking.com routing email, your replies will go directly to the guest email and not be received in the guest's booking.com inbox.
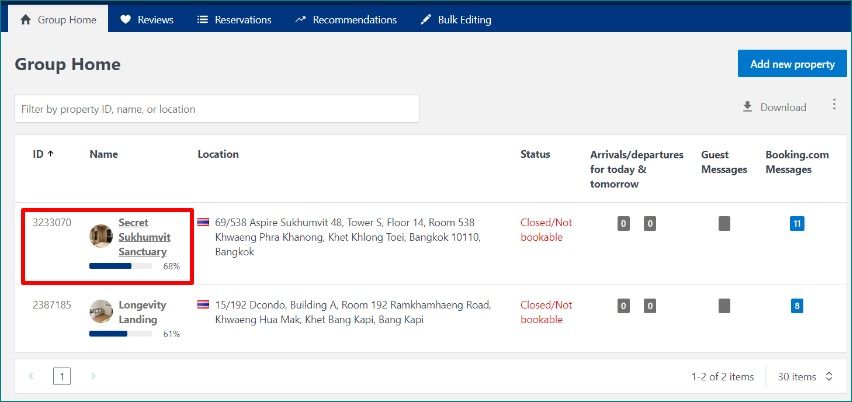
In the case of connecting a Booking.com account with multiple property id's (not room id's), you will need to add the contact as described in steps 4 and 5 above to each of your property id's individually. To do this you open each property separately by clicking on it under the Group Home page. Then follow steps 4 and 5 for each property id in your list.
