The Tokeet Booking Widget allows guests to book directly from your non-Tokeet website to your Tokeet booking engine. Simply configure the booking widget for a specific rental and booking engine, then place it on your site. You may even customize the widget to fit your website's look and feel.
Generating and installing the Booking Widget
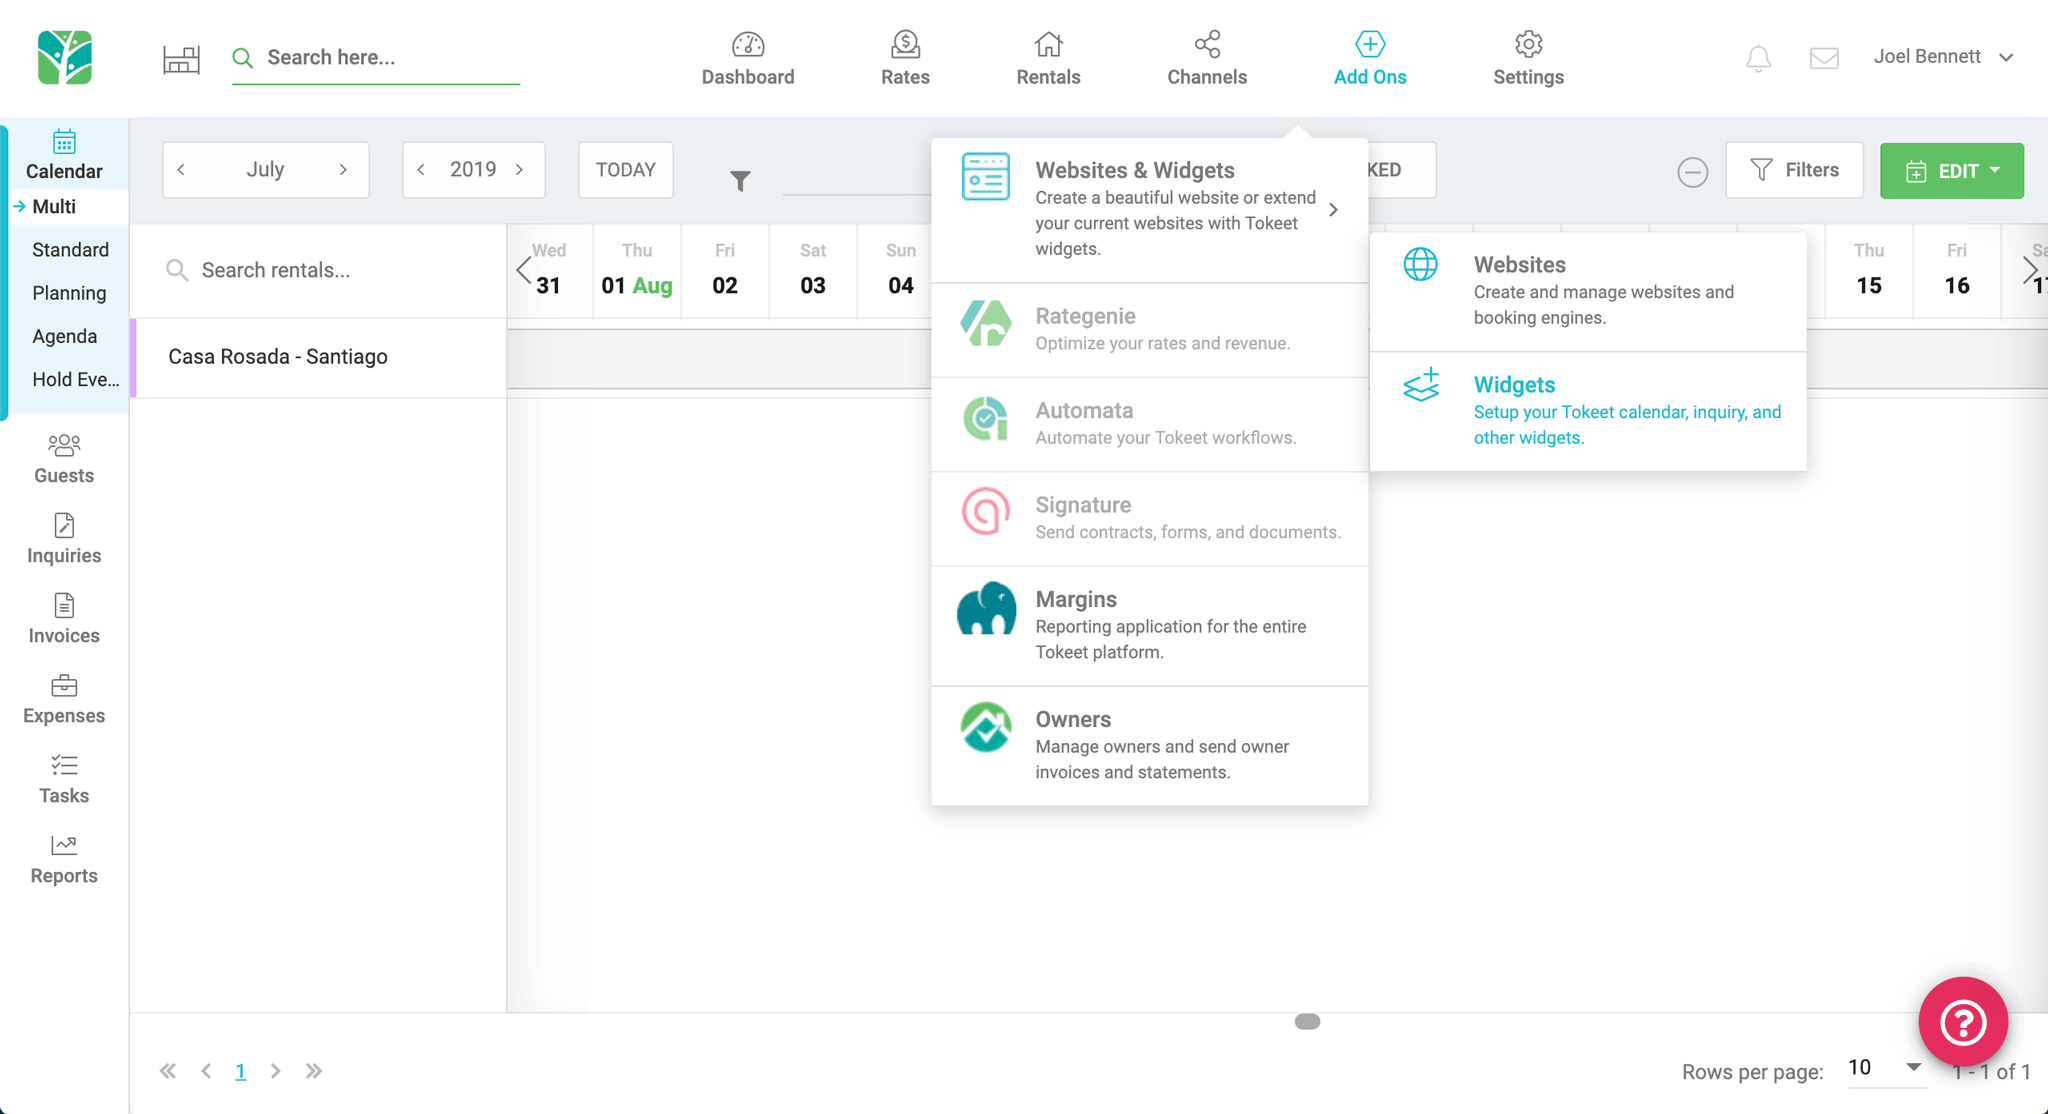
Click on the Add-Ons button, click the Websites & Widgets submenu, and then select Widgets

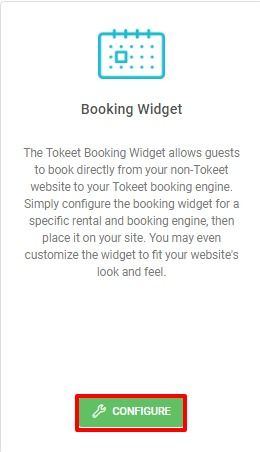
Select "Configure" on the Booking Widget option.

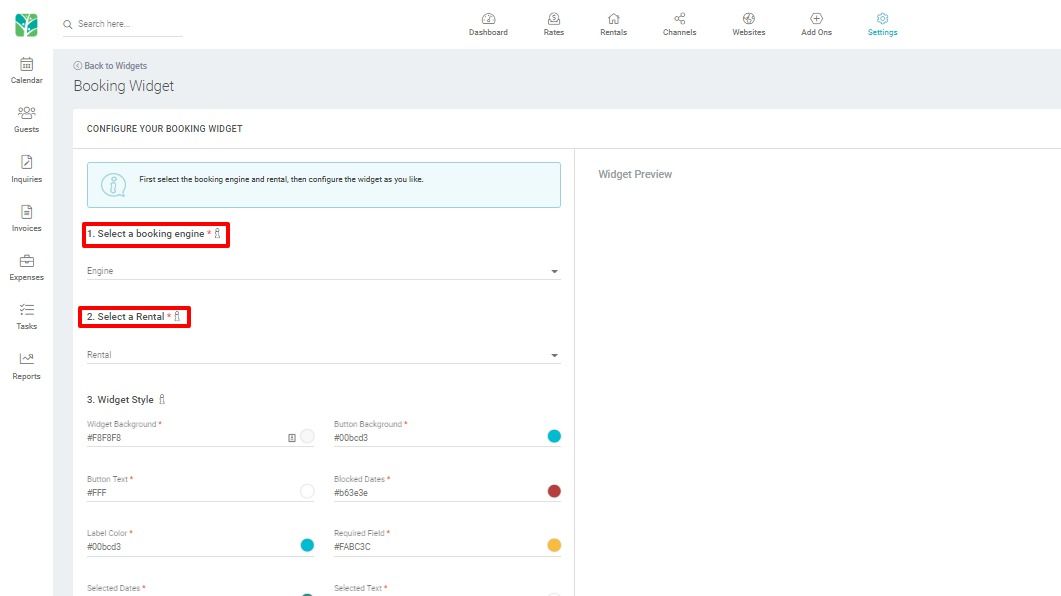
On the Configure your Booking Widget screen, complete required info.

Select a Booking Engine. If you don't have a Booking Engine created, you will need to Create a Booking Engine first.
Select Rental
Customize colors and fonts to match your desired style
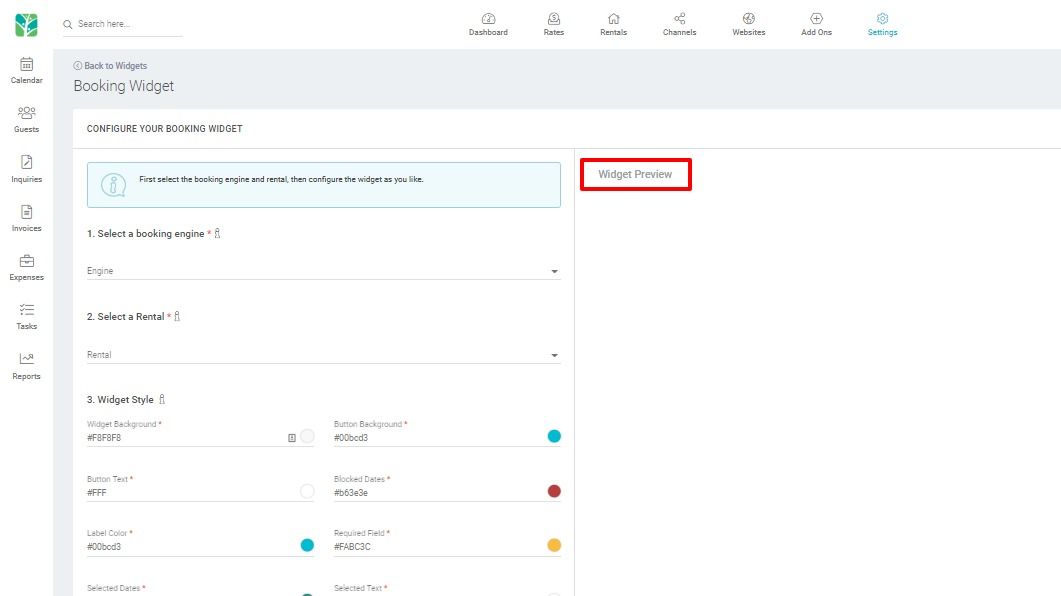
Preview changes in real time in the widget preview pane to the right of your configurations.

Click on the "copy code" button and paste into the source HTML code of the intended site.

You may edit booking widget code for deep customization. Please see the Help Center article on Booking Widget Advanced Configuration for more info.
Tip: If you are having issues with booking widget implementation on your custom site, you can also link directly to booking engine pages. This is an alternative to utilizing Tokeet booking widgets. Here's a sample booking engine URL:https://secure.booksafely.com/checkout?rental_id=540e59fb-2c90-4124-8dba-90693162ecd2&website=aab21a1f-5f56-43cc-bdb2-6c0a7b5150e9