Automata workflows allow you to organize triggers in a pre-defined sequence. You can create, view, and edit each individual trigger in order to customize your messaging for each rental and its connected channels.
Navigate to Workflows

Click the green "New" button to create a new workflow.
Workflows can be created from from a sample (pre-built) workflow, or from a blank workflow.
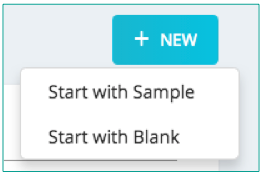
Create Workflow From Sample
Choose a Workflow.
Sample workflows include pre-built triggers and templates for you to utilize and build on.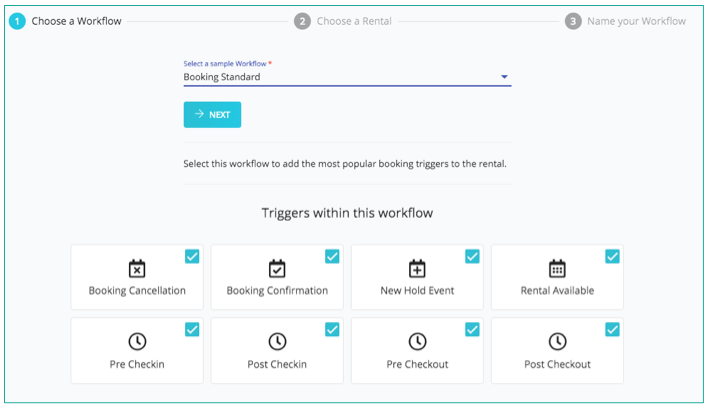
Click on each trigger to include / exclude triggers from workflow.
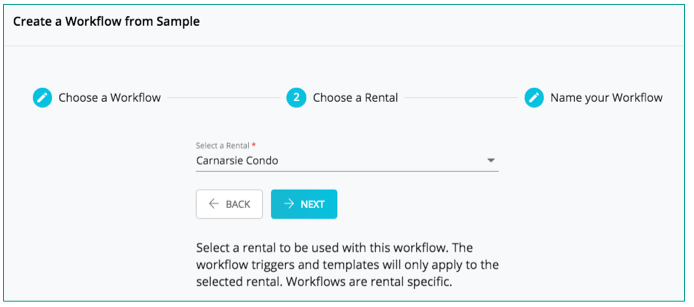
Choose a Rental and click "Next"
Name your Workflow and click "Create"

You are now returned to the Workflows tab. Click on the newly created workflow to make edits.
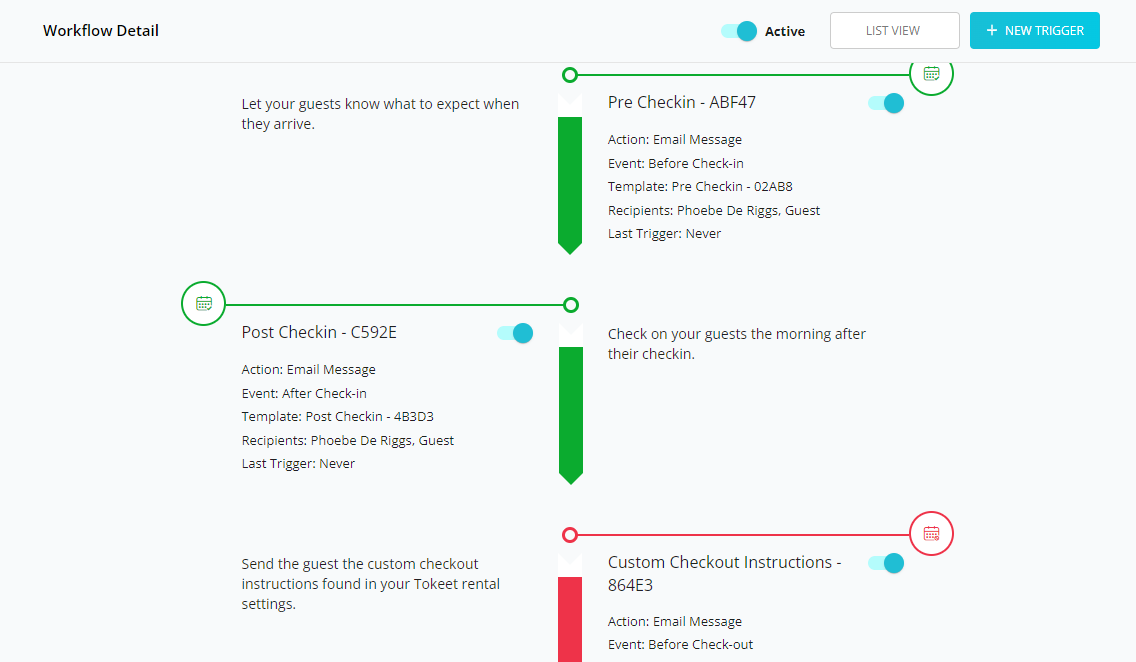
• Click on any Trigger to make any edits to the trigger or template
• Mouse over the icon next to any workflow step to Delete the trigger, or alternatively Pause a particular trigger within the workflow.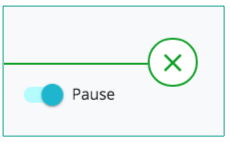
Create Workflow from Blank
Select Triggers.
Workflows will automatically organize your triggers in a logical sequence.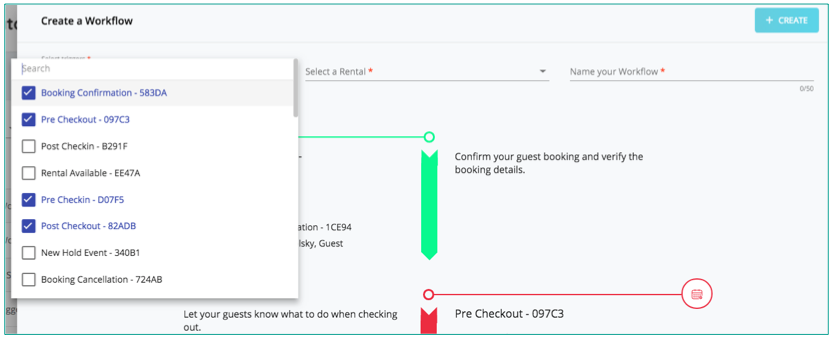
Select Rental
Name your Workflow and click "Create"
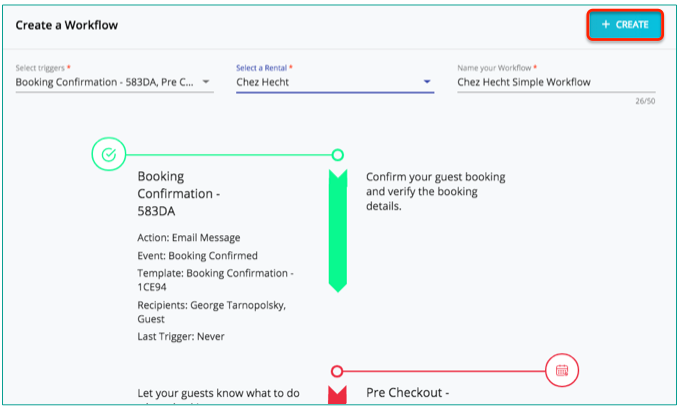
You are now returned to the Workflows tab. Click on the newly created workflow to make edits.

• Click on any Trigger to make edits to the trigger or template.
• Mouse-over the icon next to any workflow step to delete the trigger - or, alternatively, pause a particular trigger within the workflow.